As the leaves change and the air gets cooler, it’s time to switch up your nail game. Fall is the perfect time to experiment with new nail trends, and one of the most popular trends for this season is ombre nails. But not just any ombre nails – we’re talking about fall ombre nails.
In this article, we’ll dive into the world of fall ombre nails and give you all the tips and tricks you need to achieve the perfect autumn nail look.
What are Ombre Nails?
Before we get into fall ombre nails specifically, let’s first define what ombre nails are. Ombre nails are a gradient effect on the nails, where one color fades into another. This can be achieved with two or more colors, and the gradient can be subtle or bold depending on your preference.
Why are Ombre Nails Perfect for Fall?
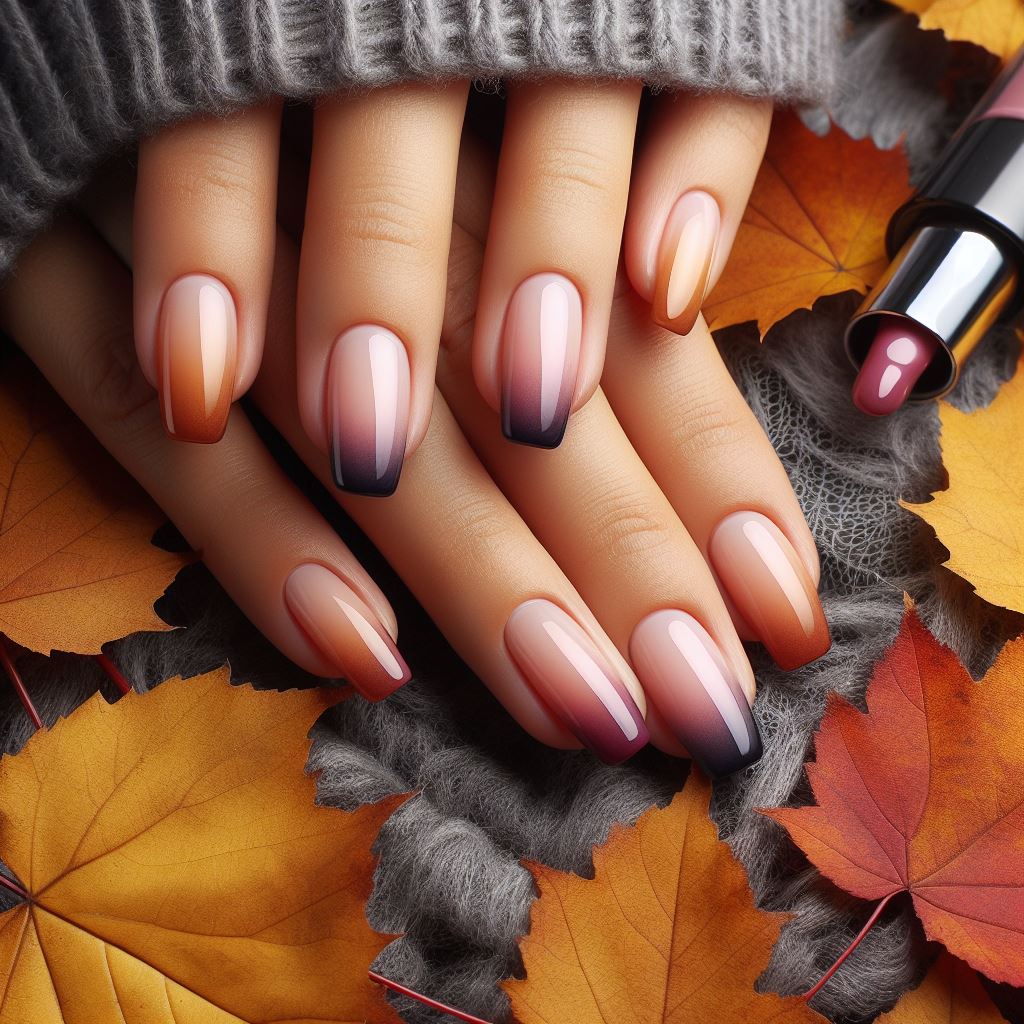
Ombre nails are perfect for fall because they mimic the changing colors of the leaves. The gradient effect creates a beautiful transition from one color to another, just like the leaves changing from green to red, orange, and yellow. Plus, ombre nails allow you to incorporate multiple fall colors into one look, making them versatile and perfect for the season.
How to Achieve Fall Ombre Nails
Now that you know why ombre nails are perfect for fall, let’s talk about how to achieve the look. Here are the steps you’ll need to follow:
Step 1: Gather Your Supplies
To achieve fall ombre nails, you’ll need the following supplies:
- Base coat
- Two or more nail polish colors in fall shades (such as burgundy, mustard yellow, burnt orange, and forest green)
- Makeup sponge
- Top coat
- Nail polish remover
- Cotton swabs
- Nail polish remover pen (optional)
Step 2: Prep Your Nails
Before you start painting your nails, make sure they are clean and free of any old nail polish. Use a cotton swab dipped in nail polish remover to clean up any residue or oils on your nails. Then, apply a base coat to protect your nails and help the polish adhere better.
Step 3: Paint Your Base Color
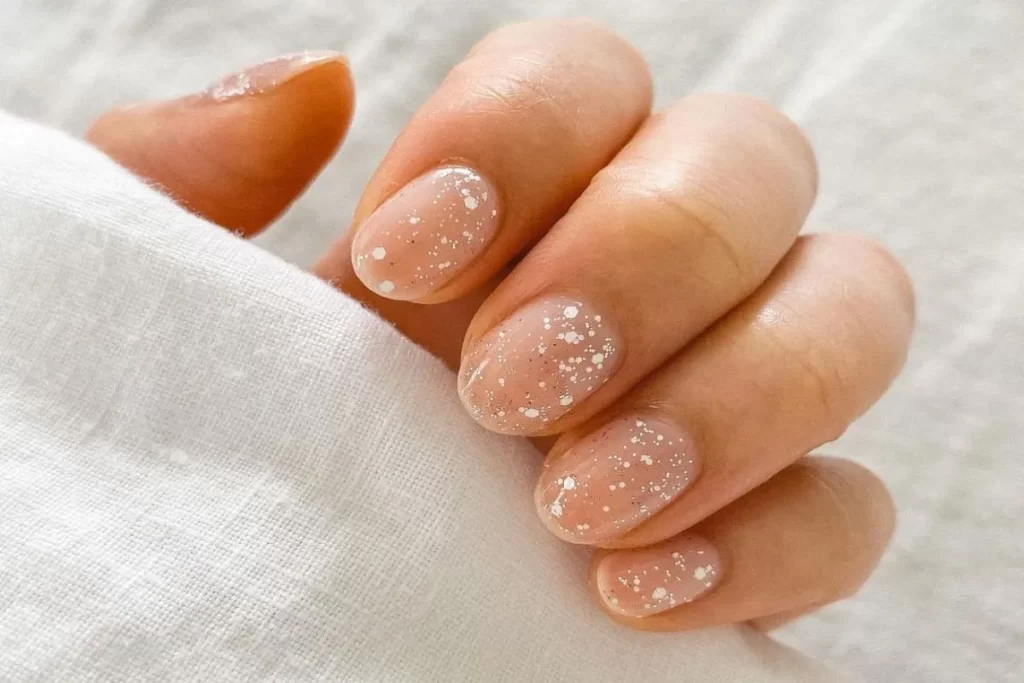
Choose one of your fall nail polish colors to use as your base color. This will be the color that shows at the tips of your nails. Apply two coats of this color and let it dry completely.
Step 4: Prepare Your Makeup Sponge
Take your makeup sponge and cut it into small pieces. You’ll need one piece for each color you plan to use. Make sure the sponge is damp, but not soaking wet.
Step 5: Apply the Ombre Effect
Now it’s time to create the ombre effect. Take your first color and paint a stripe onto the sponge. Then, take your second color and paint a stripe right next to the first one. If you’re using a third color, paint a stripe next to the second one. The colors should slightly overlap.
Step 6: Dab the Sponge onto Your Nails
Take the sponge and gently dab it onto your nails, starting at the tips and working your way down. The sponge will transfer the gradient effect onto your nails. You may need to repeat this step a few times to achieve the desired effect.
Step 7: Clean Up Any Mess
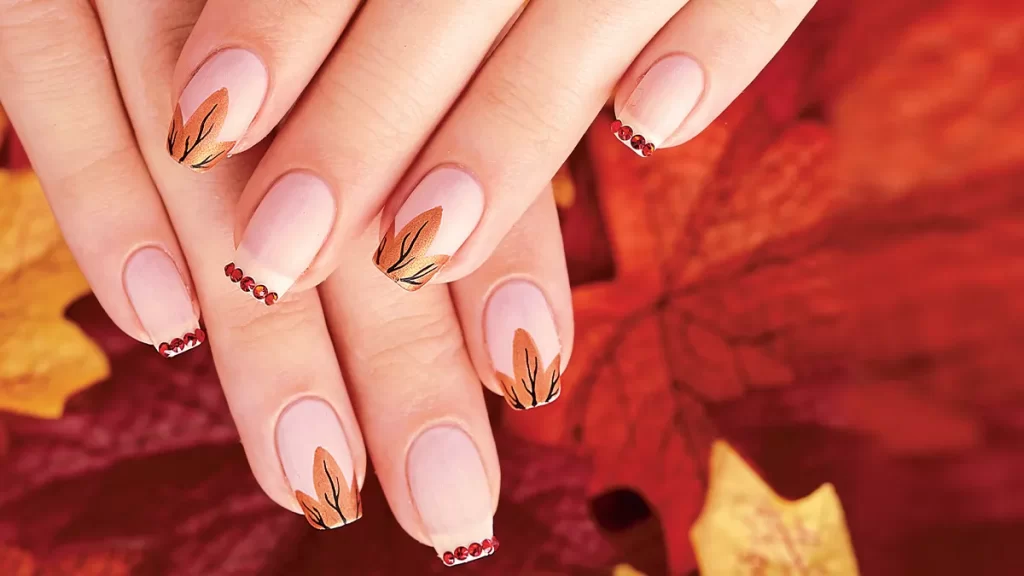
Once you’re happy with the gradient effect, use a nail polish remover pen or a cotton swab dipped in nail polish remover to clean up any excess polish around your nails.
Step 8: Apply a Top Coat
To seal in your ombre nails and give them a glossy finish, apply a top coat. This will also help the colors blend together and create a seamless gradient effect.
Tips for Perfect Fall Ombre Nails
- Choose colors that complement each other and are reminiscent of fall, such as burgundy, mustard yellow, burnt orange, and forest green.
- Use a makeup sponge to achieve a smooth and blended gradient effect.
- Don’t be afraid to experiment with different color combinations and techniques.
- If you’re short on time, you can use a nail polish with a built-in ombre effect instead of creating it yourself.
- To make your ombre nails last longer, apply a top coat every few days to prevent chipping.
Fall Ombre Nail Ideas
Now that you know how to achieve fall ombre nails, here are some ideas to inspire your next manicure:
1. Classic Fall Ombre
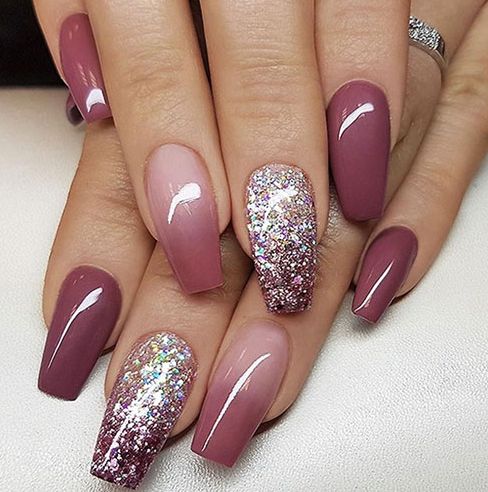
For a classic fall ombre look, use shades of red, orange, and yellow to mimic the changing colors of the leaves.
2. Jewel Tones Ombre

For a more glamorous look, try an ombre with jewel tones like emerald green, sapphire blue, and amethyst purple.
3. Pumpkin Spice Ombre

Embrace the iconic fall flavor with a pumpkin spice ombre. Use shades of orange, brown, and gold to achieve this look.
4. Fall Sunset Ombre
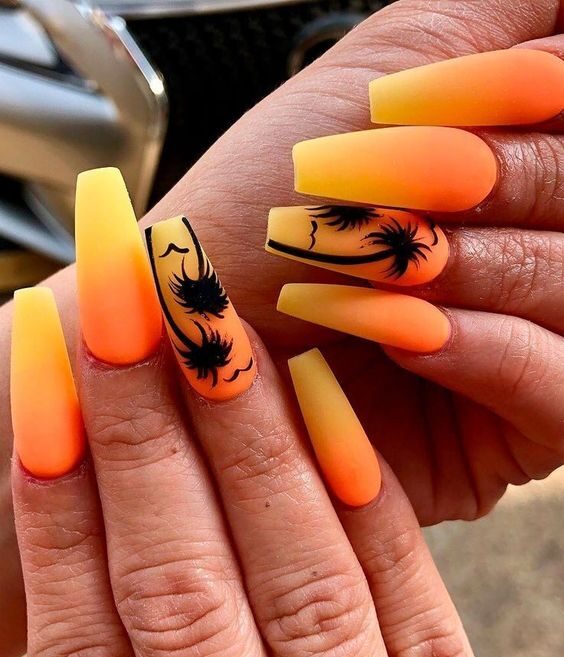
Capture the beauty of a fall sunset with this ombre nail look. Use shades of pink, purple, and orange to create a stunning gradient effect.
5. Plaid Ombre
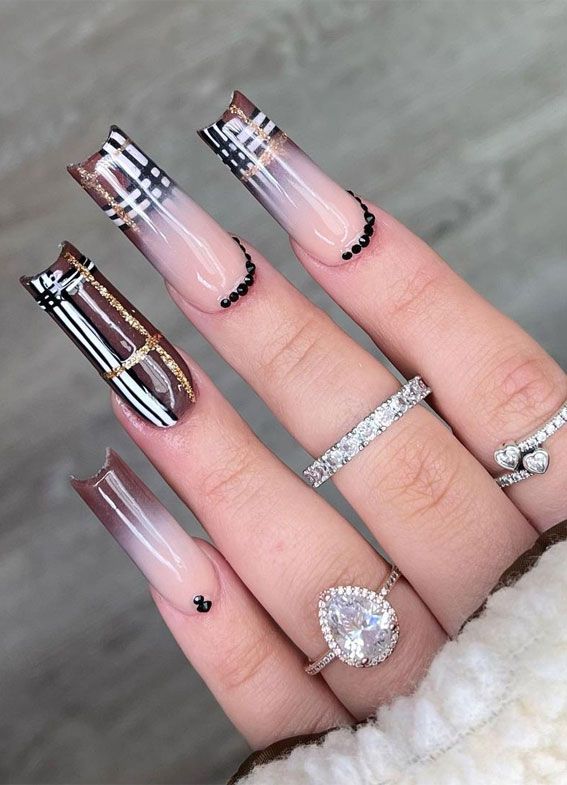
For a unique twist on fall ombre nails, try a plaid design. Use shades of red, orange, and yellow to create the plaid pattern.
In Conclusion
Fall ombre nails are the perfect way to embrace the season and add some color to your look. With the right supplies and techniques, you can achieve a beautiful gradient effect that will make your nails stand out. So go ahead and try out this popular fall nail trend – your nails will thank you!
For more information, visit: Keratīns